The journal
How do I measure the angle of my bench?
Three reliable ways to know your bench’s angle: use the bench’s preset positions, a phone/angle finder, or a quick tape‑measure method. Simple steps and tips for back and seat pads.
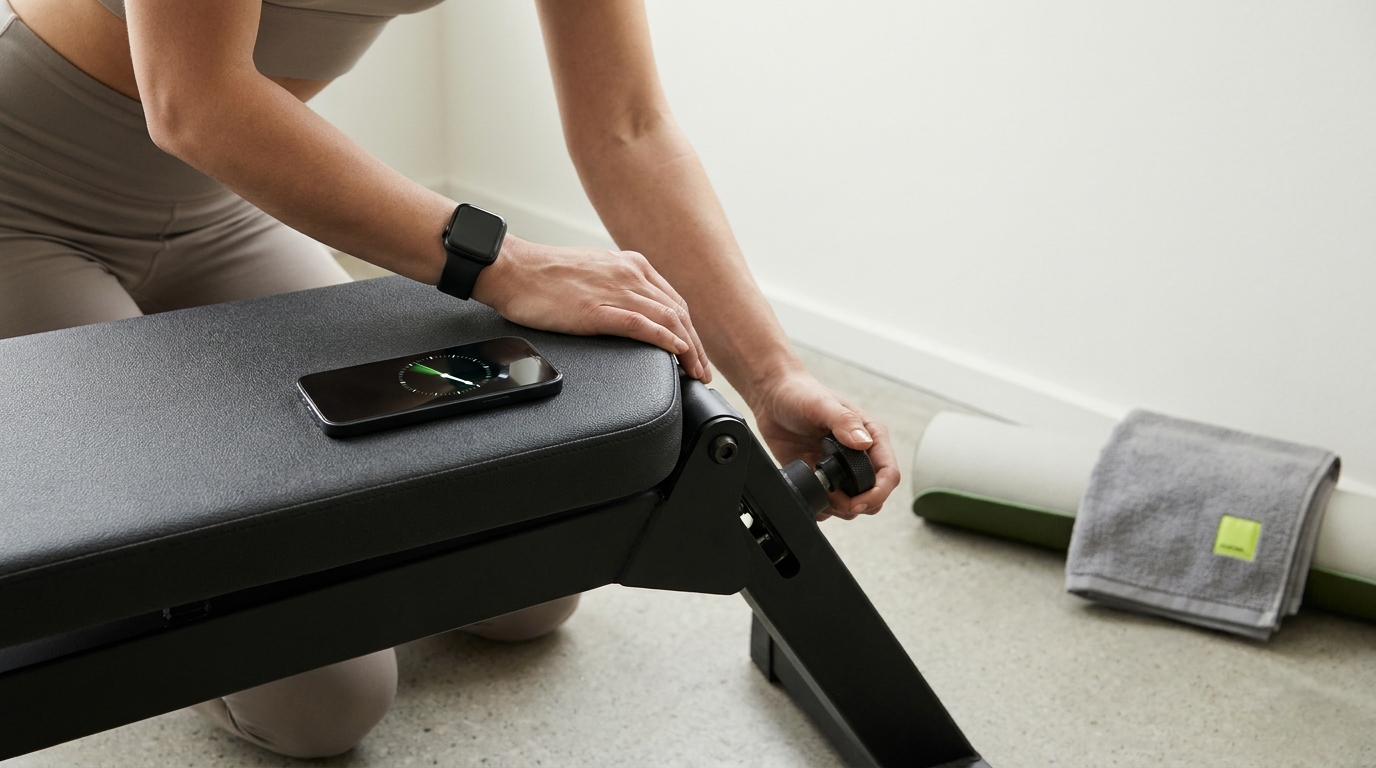
Quick ways to measure your bench angle
1) Use your bench’s preset positions
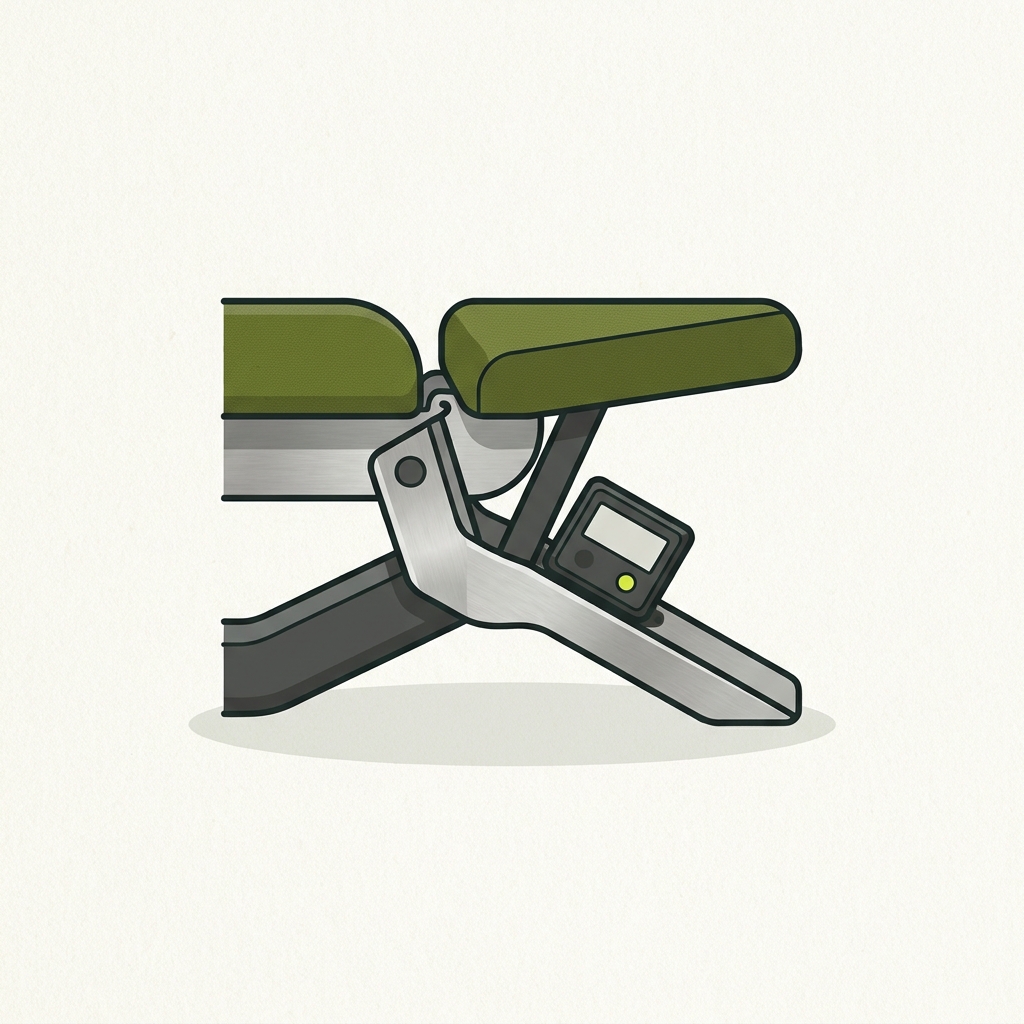
Most adjustable benches set to exact, repeatable angles. On pop‑pin styles, the spine has holes that correspond to specific degrees; you pull the spring‑loaded pin, move the pad, and the pin locks into the new hole (REP ladder vs pop‑pin guide). Many product pages or bench guides list the exact degrees for each notch. For example, a manufacturer’s bench guide shows back‑pad positions like 0, 15, 30, 45, 60, 75, 85 degrees on certain models, and others include decline settings with clearly listed angle steps (REP Bench Guide).
How to use this method:
- Set the back pad to a notch/hole.
- Check your bench’s spec sheet or guide for the matching degree value for that position.
- Repeat for the seat pad if you adjust it separately.
This is the fastest way, and it ensures you get the same angle every session.
2) Use a phone or angle finder (inclinometer)
Any basic inclinometer or a smartphone’s built‑in level app can read the angle directly.
- Place the bench where you’ll lift. Check the app’s instructions and whether it reports true horizontal or a relative angle. Zeroing on a sloping floor gives an angle relative to that floor, not to true horizontal.
- Lay the phone or angle finder flat on the back pad near the pad’s long edge so it sits stably.
- Read the angle. If you zeroed on the floor, the reading is relative to that floor; use a verified level reference when you need an angle to horizontal.
- Repeat on the seat pad if needed.
Tip: Measure close to the hinge end for the back pad and midline for the seat pad so the tool sits flat and stable.
3) No-tool tape‑measure method (rise/run)
If you don’t have an inclinometer, you can estimate angle accurately with two quick measurements and any calculator.
- With the back pad set, measure the pad’s straight length (hinge to top). Call this L.
- Measure vertical rise from the hinge height to the top edge height of the pad. An easy way: measure each end’s height off the floor and subtract. Call this R.
- For pad length L measured along the sloping pad and vertical rise R, angle ≈ arcsin(R ÷ L). If you instead measure horizontal run H, use arctan(R ÷ H). For example, if L = 36 in and R = 18 in, angle ≈ arcsin(0.5) = 30 degrees.
Use the same approach for the seat pad: measure its length and the height difference between front and back edges.
What the common angles mean
Knowing your number helps you pick intent. Typical, widely used ranges:
- Flat: 0 degrees.
- Low incline: about 15-30 degrees, a shoulder‑friendly way to shift work toward the upper chest (BLK BOX bench angle settings).
- Moderate incline: around 45 degrees, increasing shoulder contribution (BLK BOX bench angle settings).
- High incline: roughly 60-90 degrees, closest to a seated shoulder press (BLK BOX bench angle settings).
- Decline: commonly ~15-30 degrees downward to emphasize lower chest patterns (Powertec bench press angles).
If your bench uses preset holes/notches, your manufacturer’s guide is the authority for the exact degree values at each position (REP Bench Guide).
Common setup mistakes and easy fixes
- Measuring the wrong surface: Read angle on the pad you’ll press against (back pad for most inclines).
- Uneven floor: A sloping floor changes a relative reading. Check the instrument’s reference before comparing angles.
- Unstable phone: Place it along a flat pad edge and keep it still; avoid seams or logos.
- Confusing back and seat: Log both if you adjust seat pitch; it affects how you sit and press.
- Rushing adjustments: Set and lock the ladder bar or pop‑pin fully before you load the bench (REP ladder vs pop‑pin guide).
Related reading from Rep & Range
- What angle should you use on an incline bench?
- What is the best gym bench for home use? A practical buying guide
Put this into practice
Identify the surface and reference you are measuring, then repeat the reading without changing setup. Compare the result with the bench instructions rather than assuming its numbered position is a universal angle.
Quick checklist: lock in the bench angle you want
FAQs
Do I need an exact degree, or is “one notch up” fine?
For most training, being within a typical range (for example, low incline around 15-30 degrees) is sufficient. If you’re testing or comparing progress, use your bench’s angle chart or an inclinometer for consistency (BLK BOX bench angle settings).
Why don’t all benches list the same angles?
Notch spacing and design differ between ladder and pop‑pin benches. Pop‑pin spines often have labeled holes for specific degrees, while ladder designs use groove positions; check your model’s guide for its exact mapping (REP ladder vs pop‑pin guide), (REP Bench Guide).